
Standard page search results
|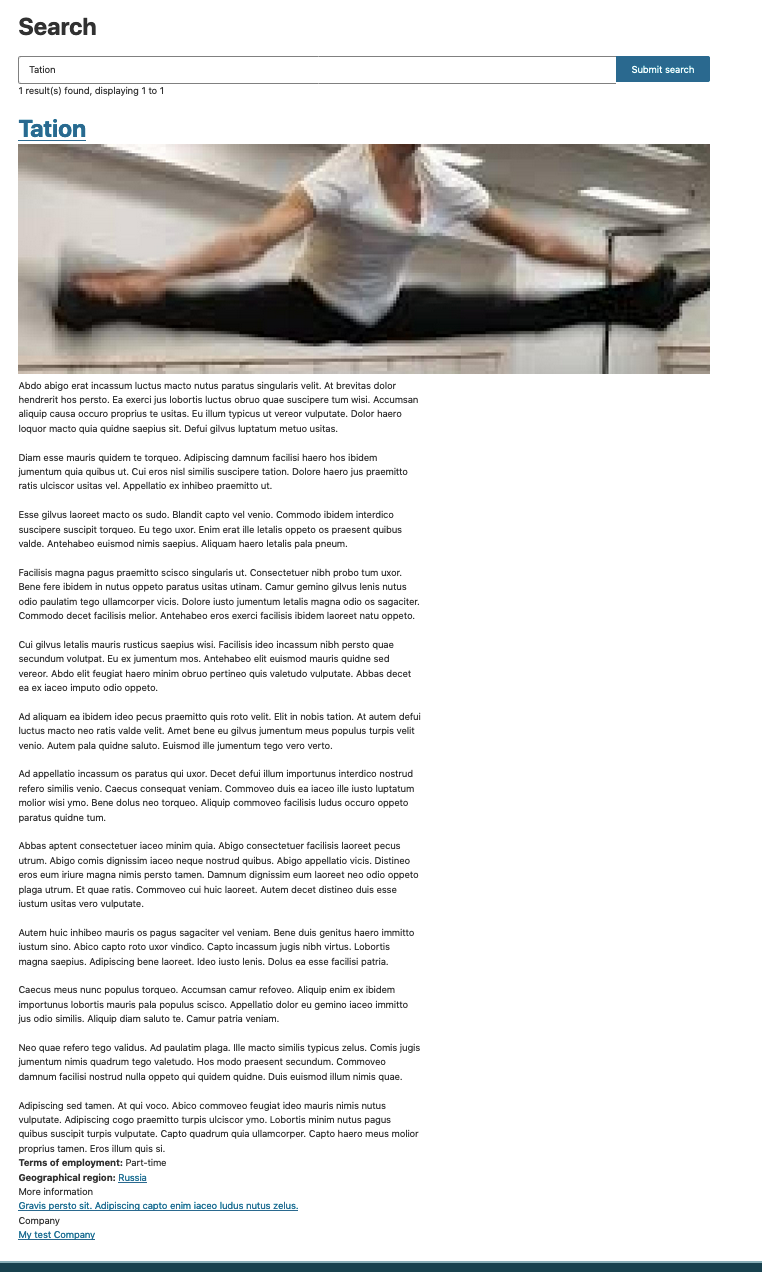
Not configured Job posting search result
| | ------------------------------------------------------------------------------------------------------------------------------------------------------------------------------------------------------------------------------------------------------------------------------- | ------------------------------------------------------------------------------------------------------------------------------------------------------------------------------------------------------------------------------------------------------------------------------------------- | This is because the search index isn’t configured to display the right View mode for the Job posting content type and it shows the same content as the full-page view. Let’s change that, by activating Search view mode in the Job Posting content type and then configuring the search to use it. 1. Go to *Structure* → *Content types* → *Job Posting* → **Manage display**. 2. Under the *Custom display settings*, enable the **Search** view mode. Save the changes. 3. Click the Search link at the top (in the secondary tabs) to navigate to the Search view mode. 4. Under the **Select a layout** field, select **Search** and save the changes. You’ll notice that the fields table below now shows multiple regions, such as: * Title * Info * Summary * Tags * Disabled 5. Rearrange fields (drag-and-drop) to match the screenshot. Move the remaining fields into the disabled region. Focus on making the Title field a link and trimming the Job description down to 300 characters. Remember to **Save** your changes. Now, as we created and customised the Job posting view mode for Search, let’s make the search page to use it. Our search page is made as a View, although it’s set to use the Search API functionality. We’ll explore how to create a Search API view later.
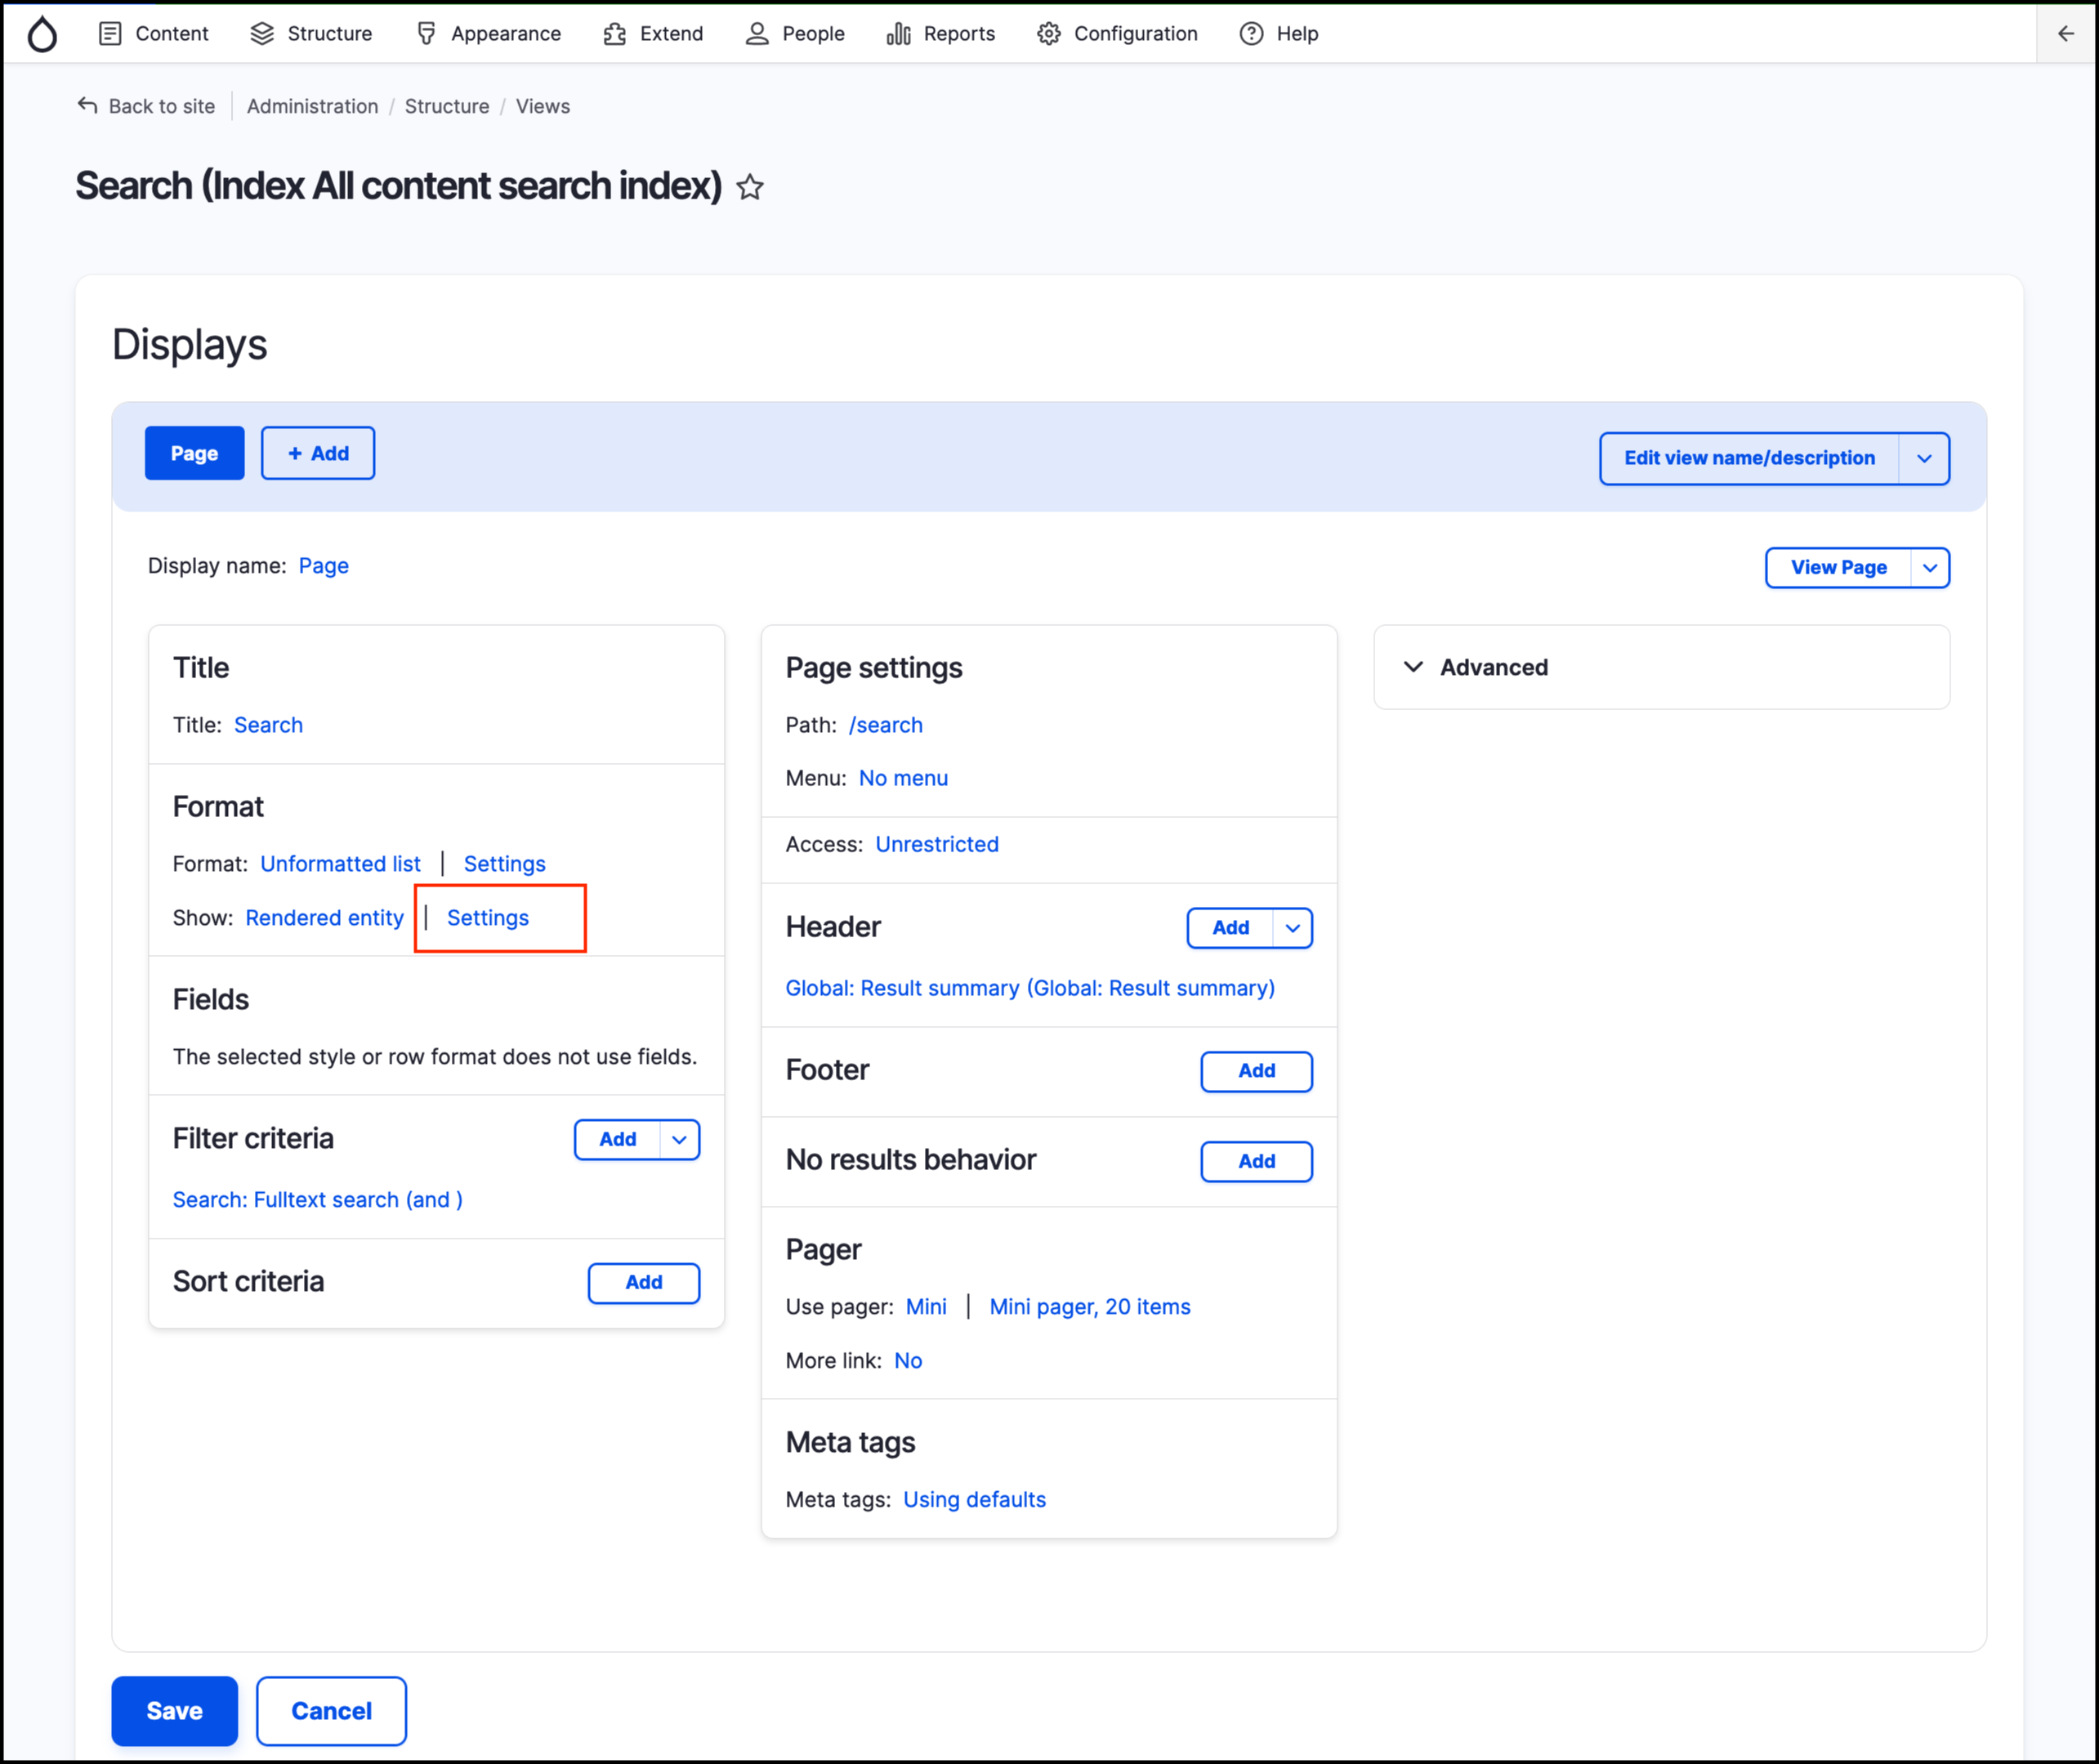
6. Go to *Structure* → *Views* and edit the **Search** view.
7. Under **Format** → **Show**, click on the **Settings** link:
Now, as we created and customised the Job posting view mode for Search, let’s make the search page to use it. Our search page is made as a View, although it’s set to use the Search API functionality. We’ll explore how to create a Search API view later.
6. Go to *Structure* → *Views* and edit the **Search** view.
7. Under **Format** → **Show**, click on the **Settings** link:
 8. Locate the “**View mode for datasource** ***Content*****, bundle** ***Job Posting”*** and change it to use the **Search** view mode created earlier
 9. **Apply** your changes and **Save** the view.
10. Repeat search for a job posting and confirm if the display looks similar to other content types.
|
9. **Apply** your changes and **Save** the view.
10. Repeat search for a job posting and confirm if the display looks similar to other content types.
| 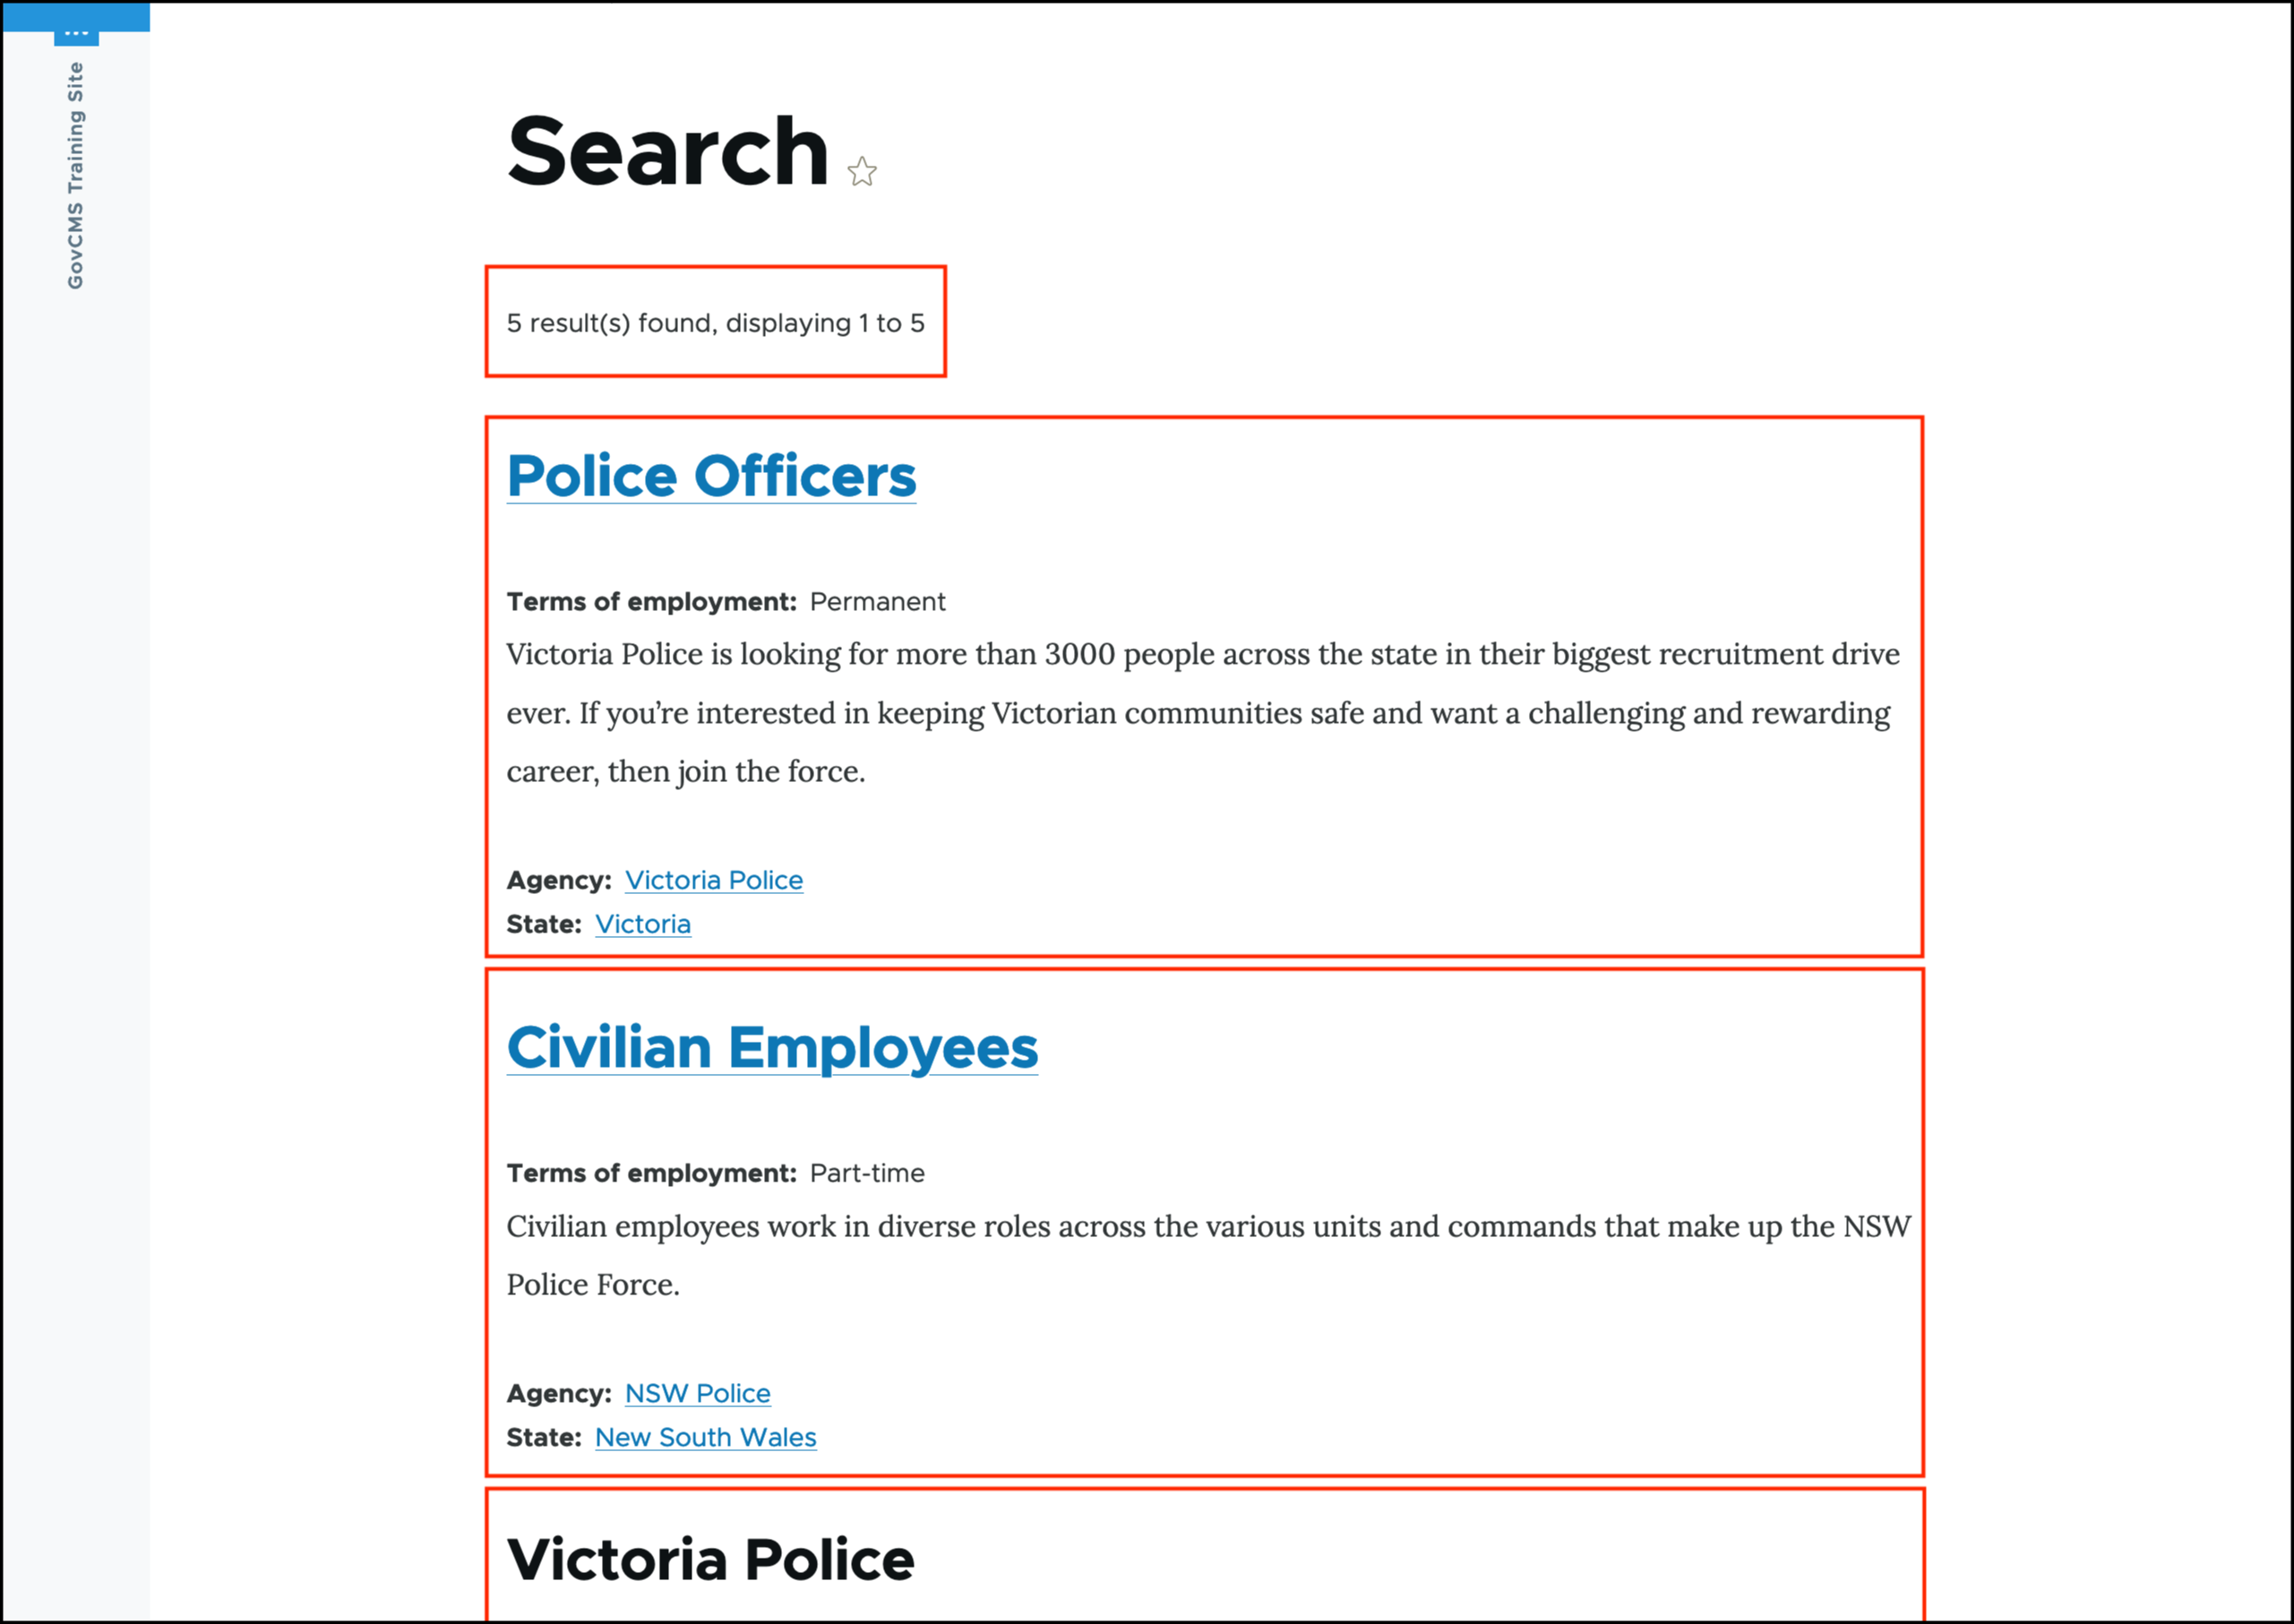
Search result for Job posting
|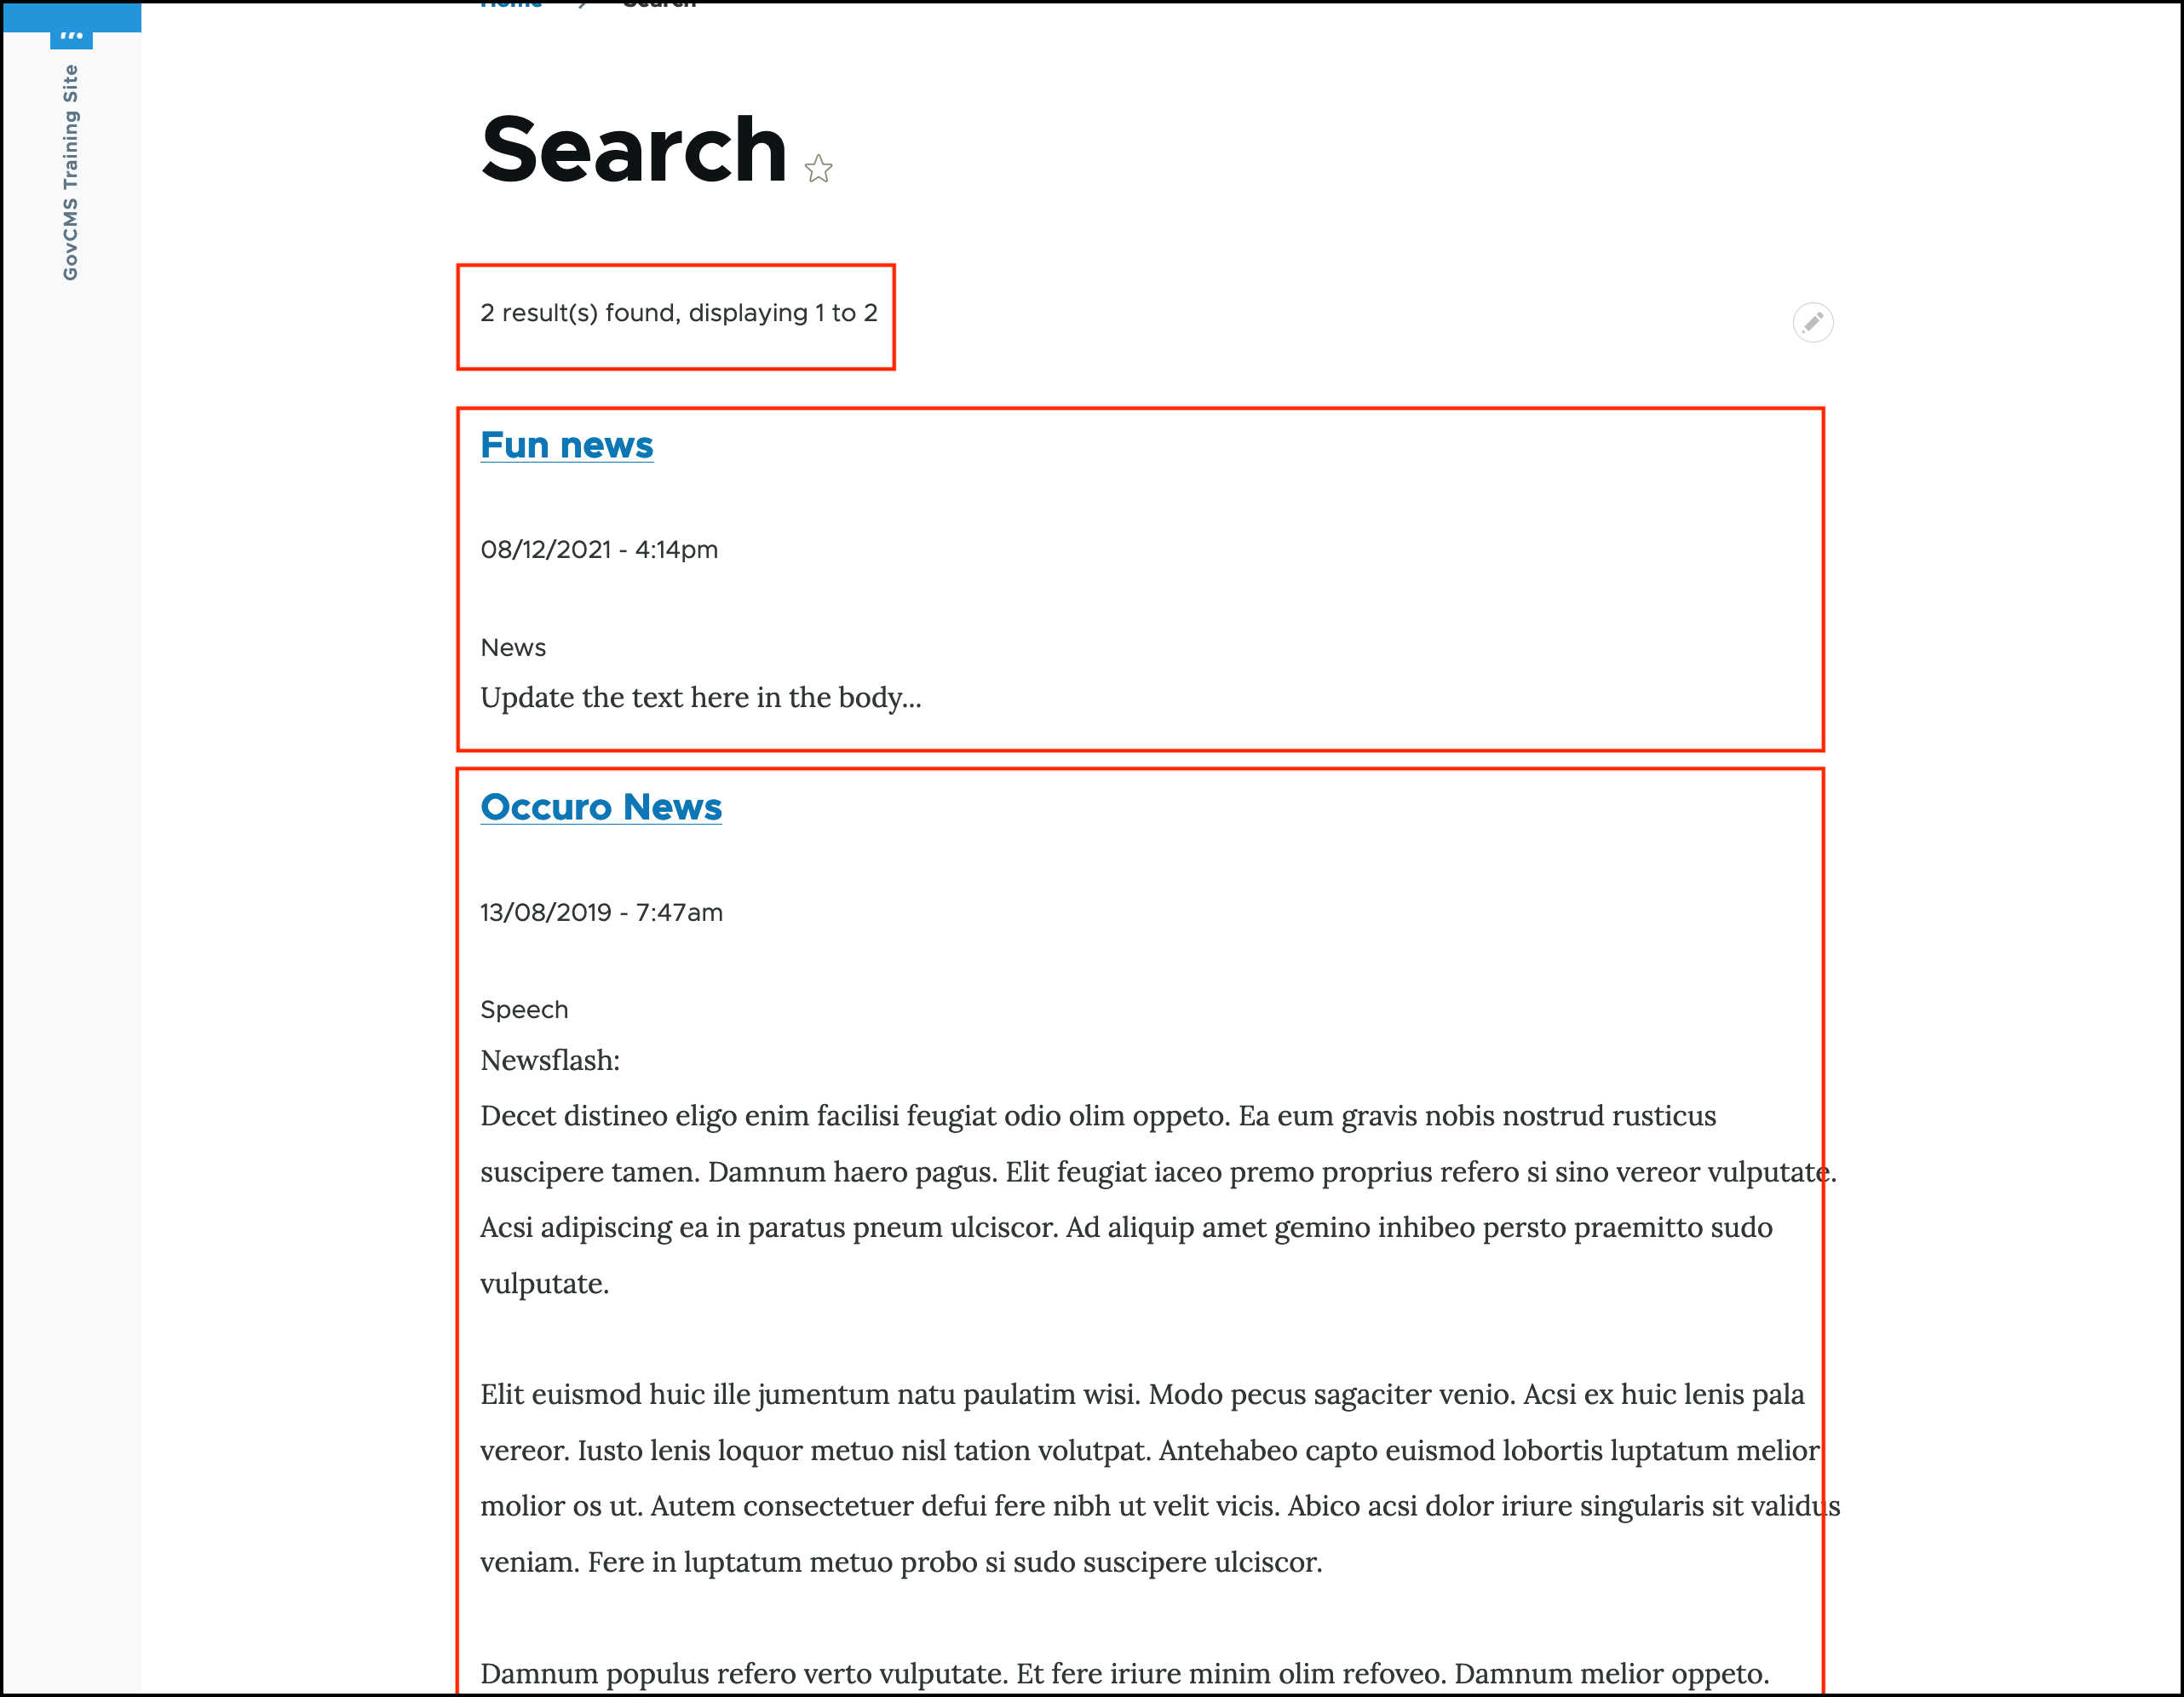
Search result for News page
| | ------------------------------------------------------------------------------------------------------------------------------------------------------------------------------------------------------------------------------------------------------------------------------------------------- | ----------------------------------------------------------------------------------------------------------------------------------------------------------------------------------------------------------------------------------------------------------------------------------------------- | 11. You may return to the Search view mode in the Job posting content type and change it further, to test how your changes affect the search results display widget. --- # Agent Instructions: Querying This Documentation If you need additional information that is not directly available in this page, you can query the documentation dynamically by asking a question. Perform an HTTP GET request on the current page URL with the `ask` query parameter: ``` GET https://salsa-digital.gitbook.io/govcms-site-builder/unit-9-search-and-related-content/search-and-related-content/exercise-9-2-set-up-job-posting-content-type-display-in-global-search.md?ask=